DIY Acoustic Panels: A Step-by-Step Guide
By HiFi Editorial24 February 2026
Key Highlights
DIY acoustic panels offer cost savings and tailored solutions for unique spaces.
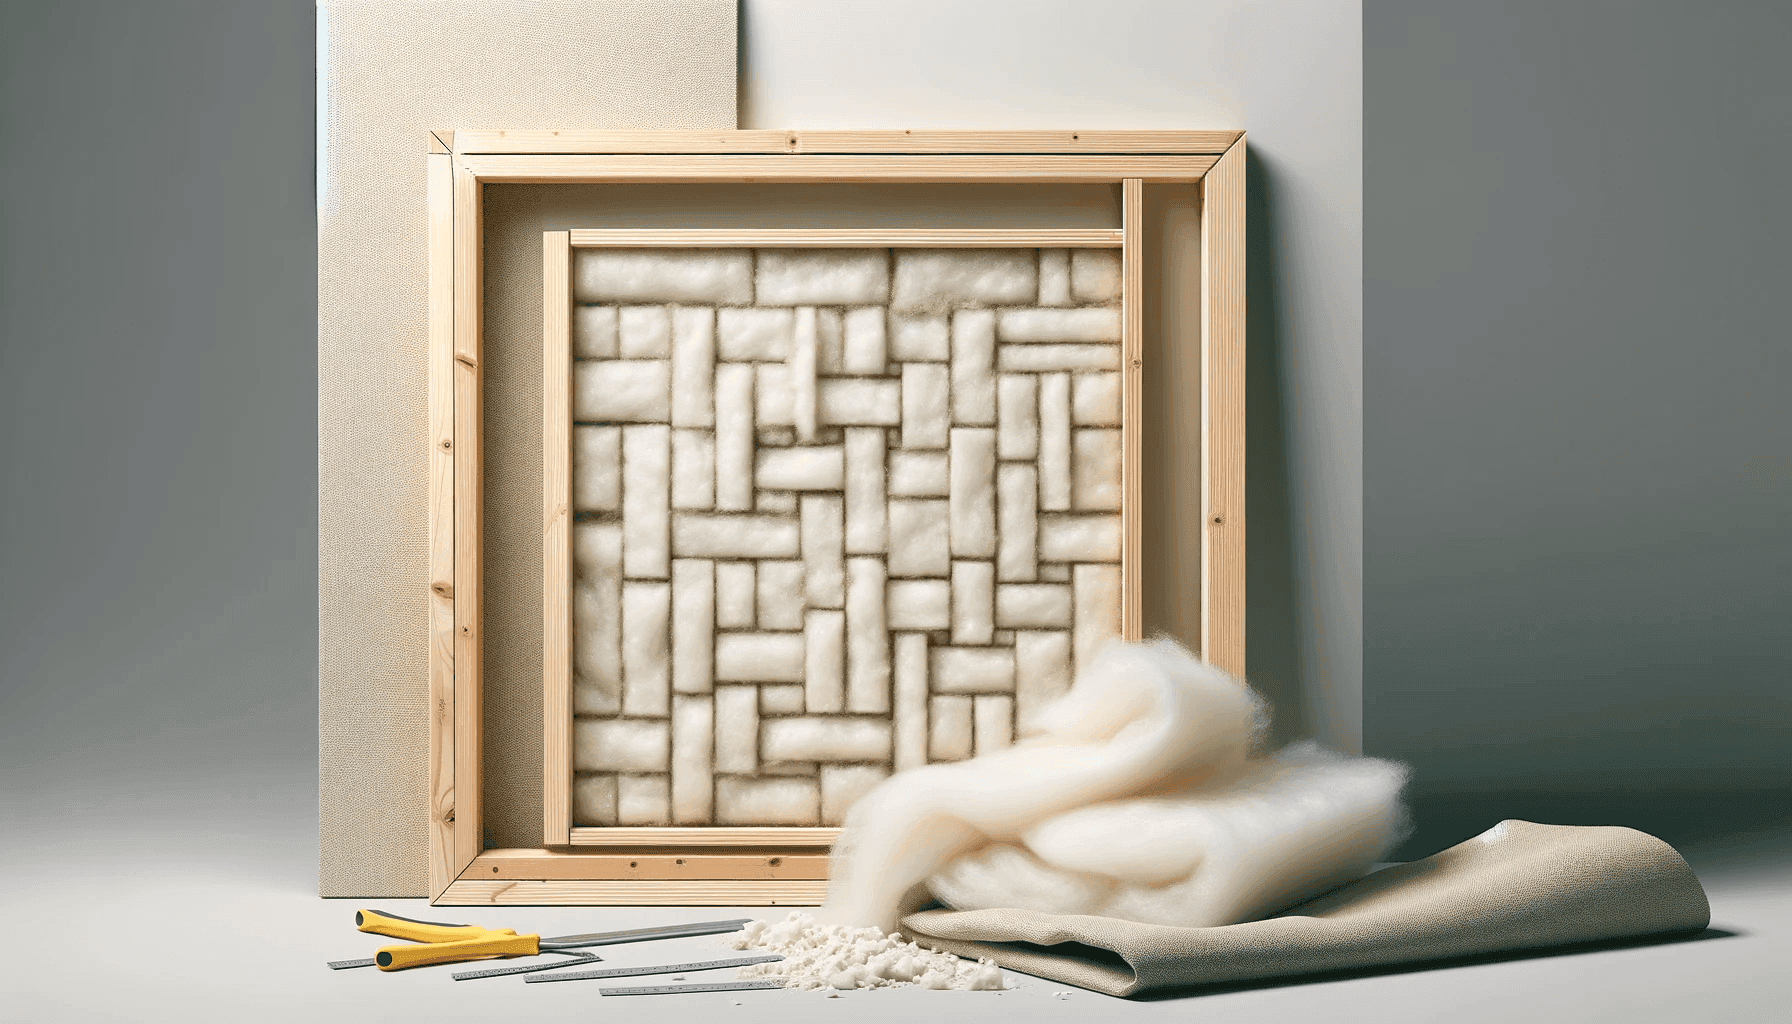
Key materials include fiberglass or mineral wool for absorption, wood for frames, and acoustically transparent fabric.
Room analysis and precise measurements are essential for customizing panel size and placement.
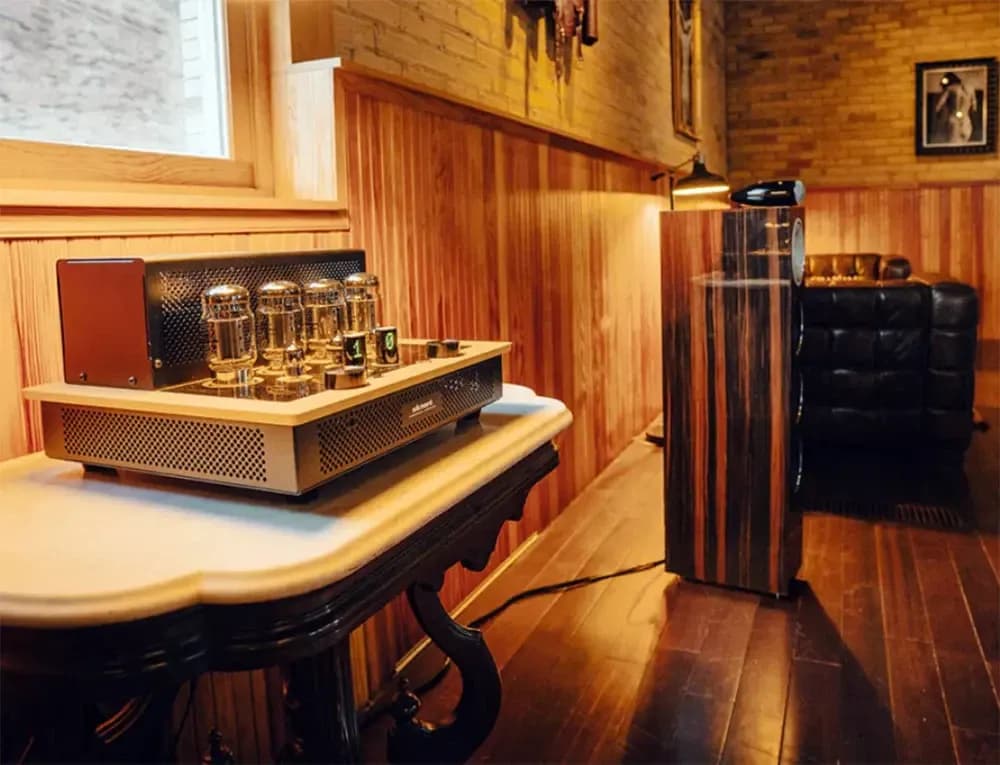
Creating acoustic panels at home is a highly rewarding DIY project that offers both financial savings and a chance to tailor your acoustic solutions to the unique characteristics of your space. This comprehensive guide is designed to walk you through the process of creating these panels, from the initial planning stages to the final touches of assembly. Whether you're an audiophile, a recording enthusiast, or simply looking to improve your listening experience, this guide will provide the insights and step-by-step instructions you need.
Introduction to Acoustic Panels
Acoustic panels play a vital role in improving the sound quality within a room. They work by absorbing sound waves, reducing echo, and minimizing unwanted reverberations. This can significantly enhance the clarity of sound in home theaters, recording studios, or even in a living space. The beauty of DIY panels lies in their customization – allowing you to choose materials that not only perform well acoustically but also blend seamlessly with your room’s aesthetics.